NOTE: Installing VirtualBox on GNU/Linux and MacOS is slightly different.
Table of Content
- Debian ISO Image
- Download Manager
- Intel (VMX) Virtualization Technology
- Hyper-V
- Installing VirtualBox
Debian ISO Image
You can download the Debian ISO file from the official Debian website at the following URL: https://cdimage.debian.org/debian-cd/current/amd64/iso-cd/
- The ISO image is/was
“debian-12.6.0-amd64-netinst.iso”
— but this is subject to change.
- This example will use the previous version, “debian-12.0.0-amd64-netinst.iso”
Download Manager
Using a download manager when downloading large or multiple files simultaneously would be best, as it can help make the downloading process more efficient and reliable. Additionally, suppose you have a slower internet connection or experience frequent interruptions while downloading. In that case, a download manager can help improve your download speed and stability.
- Download from https://www.freedownloadmanager.org/
- Or, install a plug-in on your browser.
Intel (VMX) Virtualization Technology
You may need to ENABLE VMX (Virtual Machine Extensions). Check your PC firmware configuration manual on how to do this. E.g.,
- VMX ENABLED:

- VMX DISABLED:

Hyper-V
You may need to DISABLE Hyper-V on Microsoft Windows to install VirtualBox. You can do this by running the following command in Admin PowerShell:
dism.exe /Online /Disable-Feature:Microsoft-Hyper-V
Installing VirtualBox
- Download the latest version of VirtualBox for Windows from the Oracle website
https://www.virtualbox.org/wiki/Downloads/
- The VirtualBox version is/was 7.0.20 — but this is subject to change.
- This example will use the previous version, “7.0.4”.
- Once the download is complete, run the installer file by double-clicking.
- You will be prompted with a User Account Control (UAC) window. Click on “Yes” to continue.
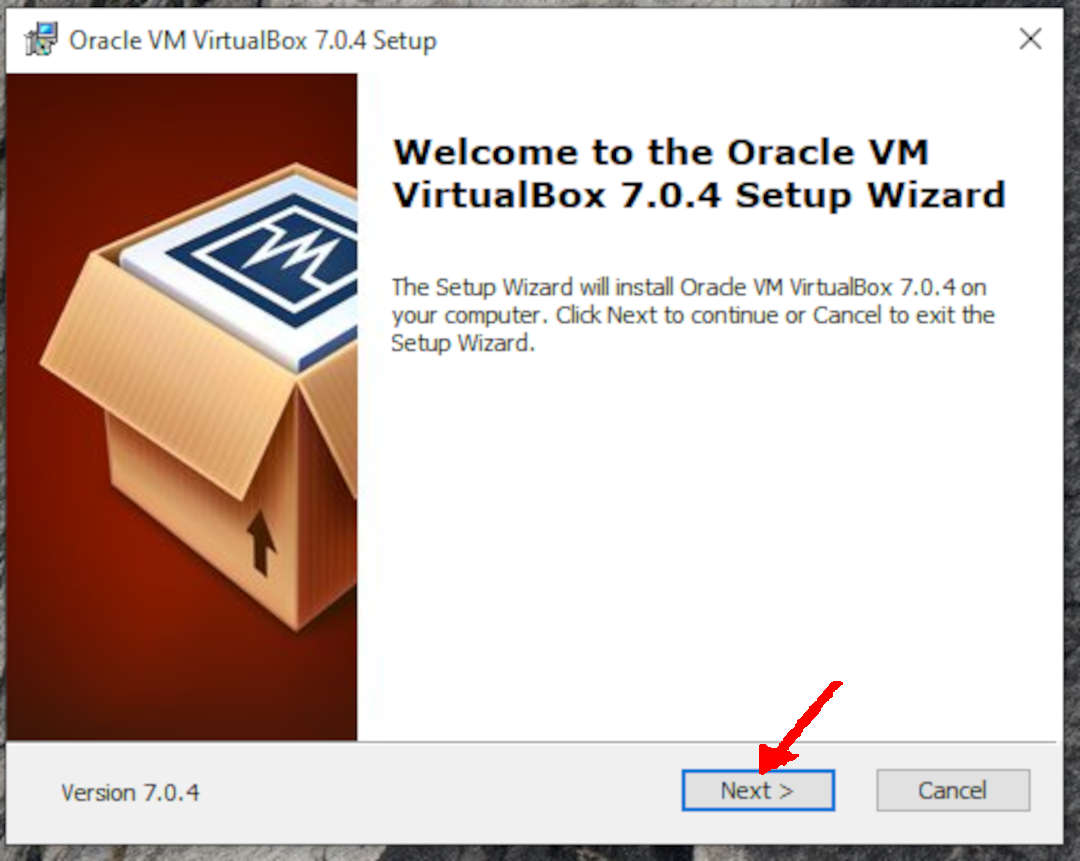
- The VirtualBox Setup Wizard will appear. Click on “Next” to begin the installation process.
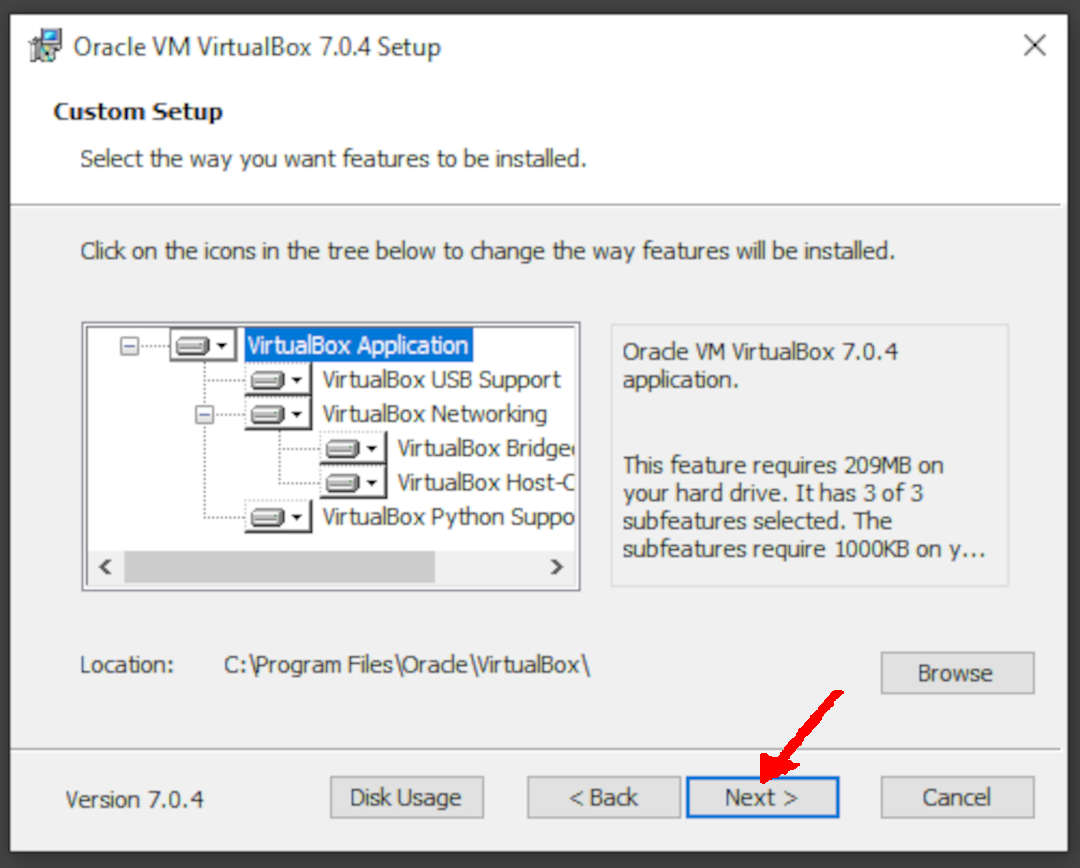
- When doing the installation, most of the options are DEFAULT. Possible different answers will be marked with “ARROWS.”
- Read the license agreement, and if you agree, select “I Agree” and click “Next.”
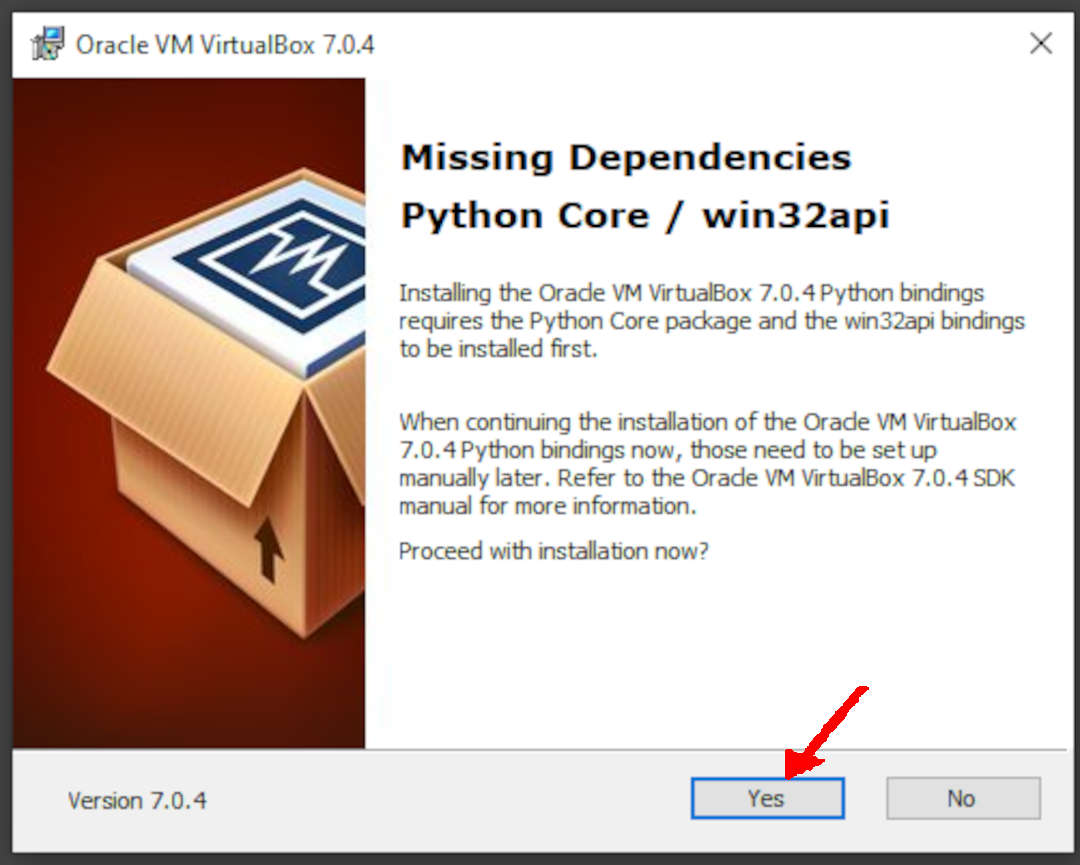
- Choose the defaults by clicking either “Yes” or “Next.”

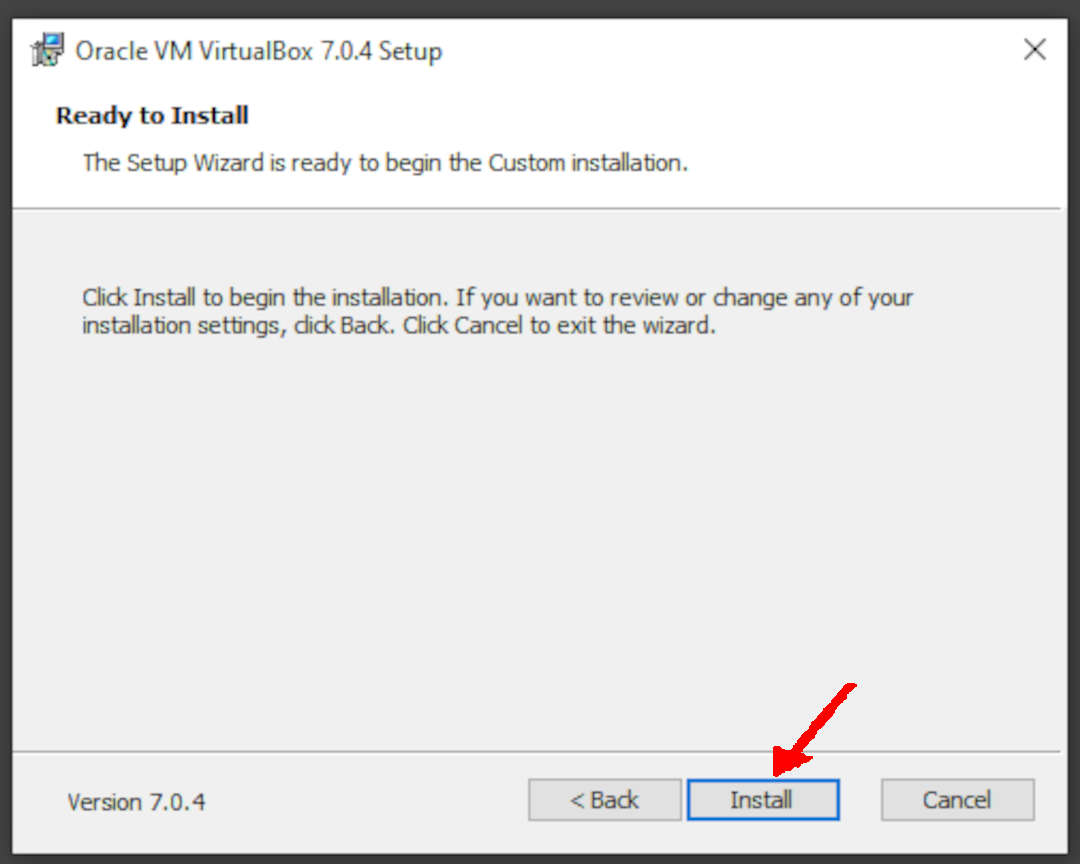
- Click “Install” to begin the installation process
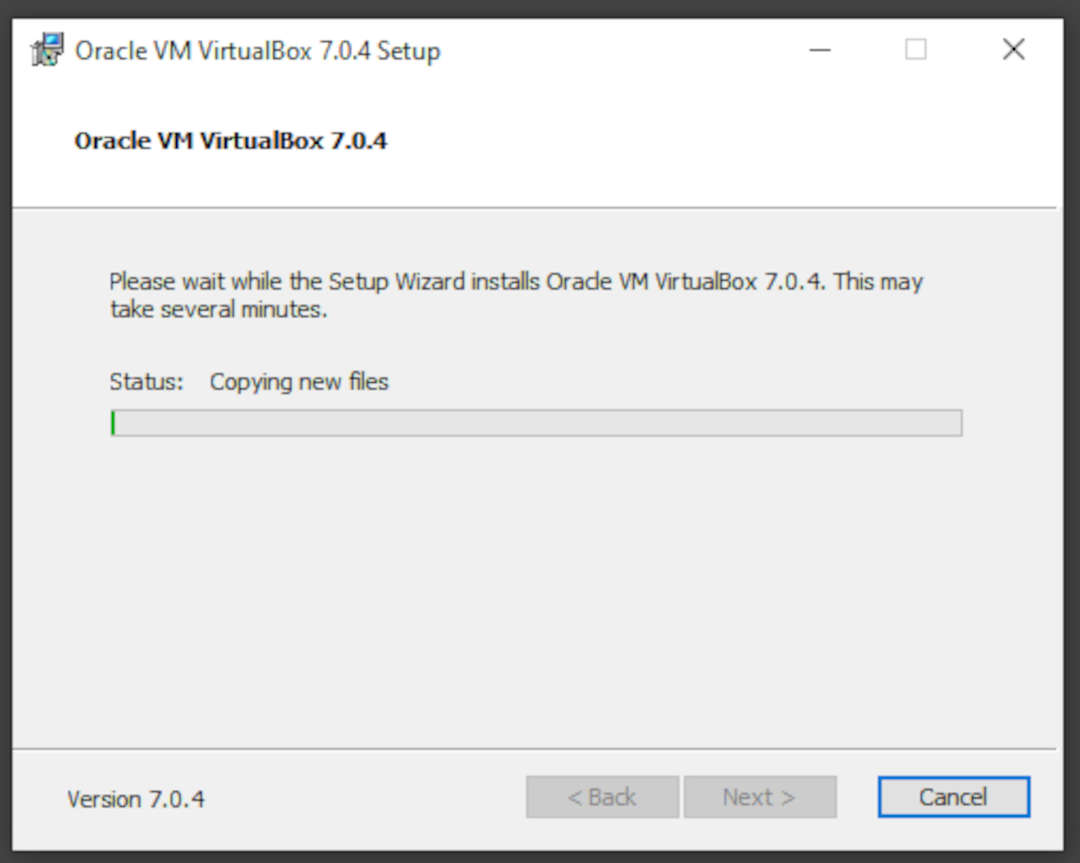
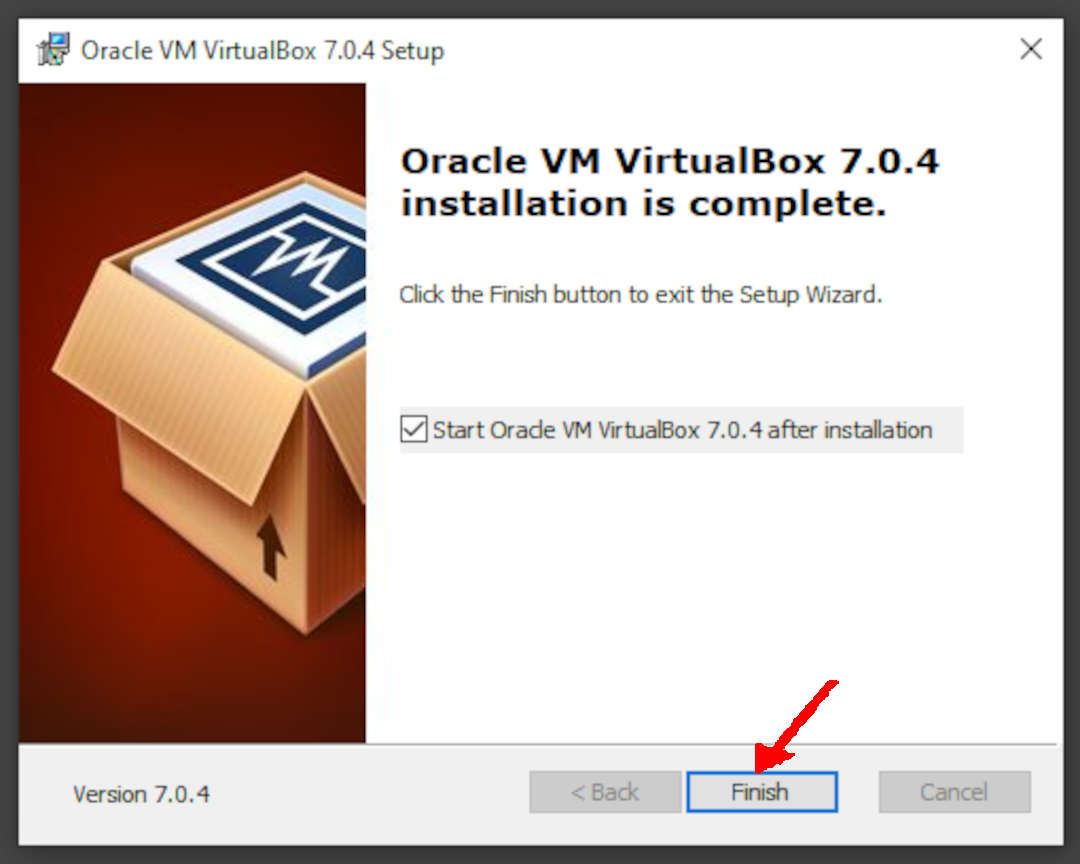
- Once the installation is complete, you will be prompted to click “Finish.”